Suchst Du etwas bestimmtes?
RealTime web meeting checklist
Before:
- The admin (moderator / presenter) logs into the RealTime account and joins the meeting room with > rooms > join

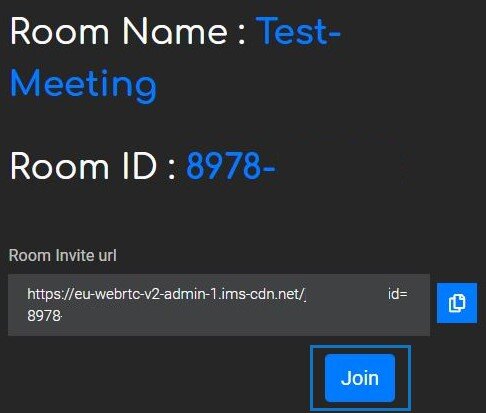
- The meeting is now open to all participants via the meeting link

- The standard presentation (welcome) saved for the customers is displayed in the meeting room

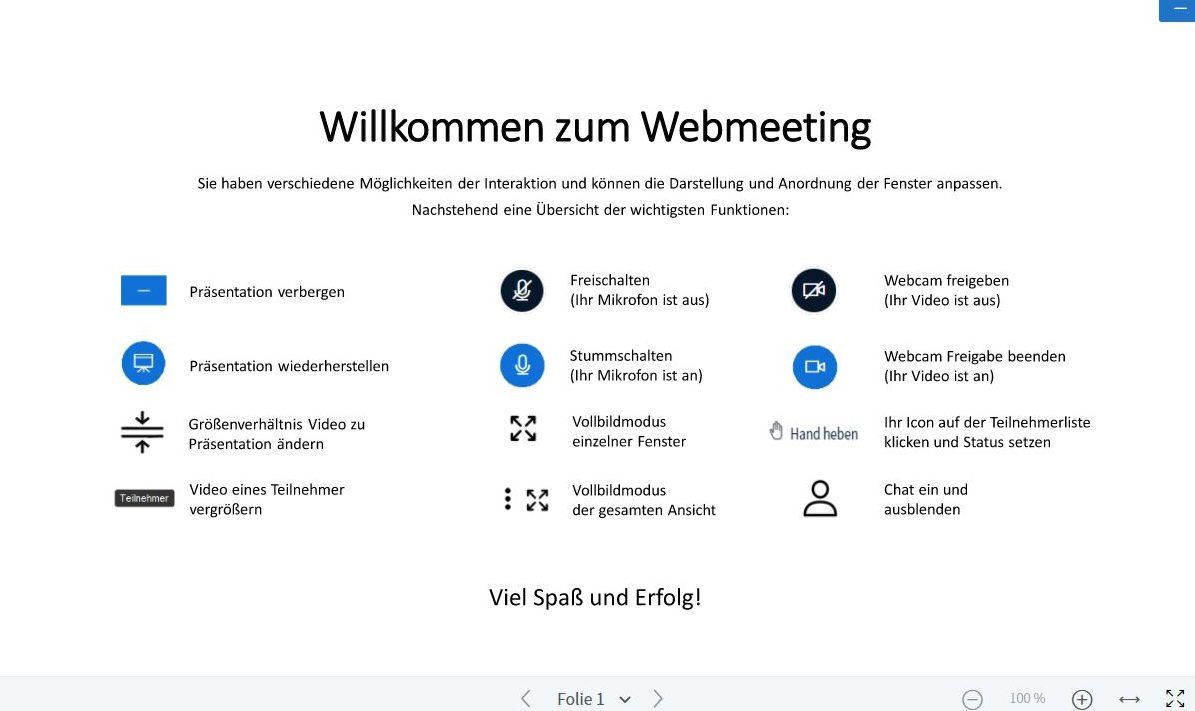
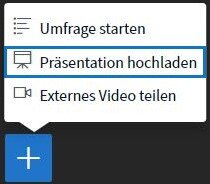
- The admin should upload the required presentations and, if desired, a welcome image (can also be the first slide of a ppt) via > + at the bottom left
- Moderators, co-moderators and presenters also register for the meeting via the meeting link (the room url) and are initially visible as “normal” participants
- The admin (moderator / presenter) can now assign (further) moderator rights by clicking the > left mouse button on a > participant icon and expanding or restricting the rights of that person

If there are many participants, it is important to find future presenters on the list. For this purpose, a (further) moderator right can be granted before the start or the future presenter can be marked with a hand signal (e. g. thumbs up).
- With a click on the gear next to “participants”, there is the option > restrict participant rights
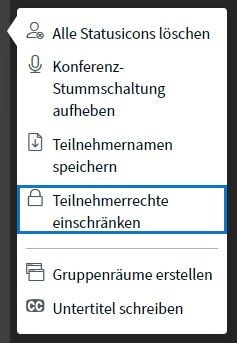
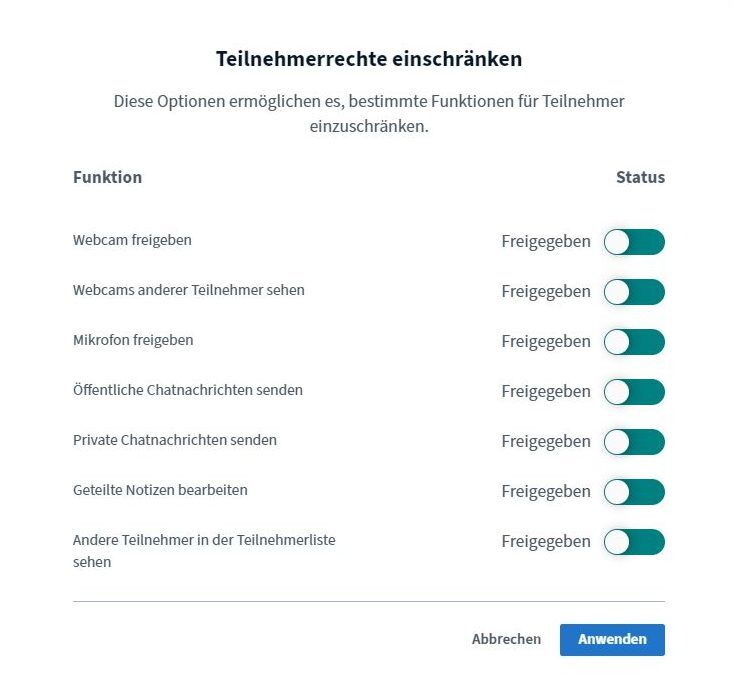
The most important points are:
– Deactivate the transmission of audio (mute) and video for all participants, or enable webcam and microphone – here you can mute all participants!
– See other participants in the participant list – it may be useful not to display the participant list for other participants
You can remove all general restrictions for individual participants by clicking the > left mouse button on the > participant icon > enable participant and, if necessary, reactivate them by > block participant.
- Every moderator now has the option of becoming a presenter by clicking on > + at the bottom left and then uploading the desired presentations with > upload presentation. All presentations should already be made available by uploading them in the meeting room before the start of the meeting

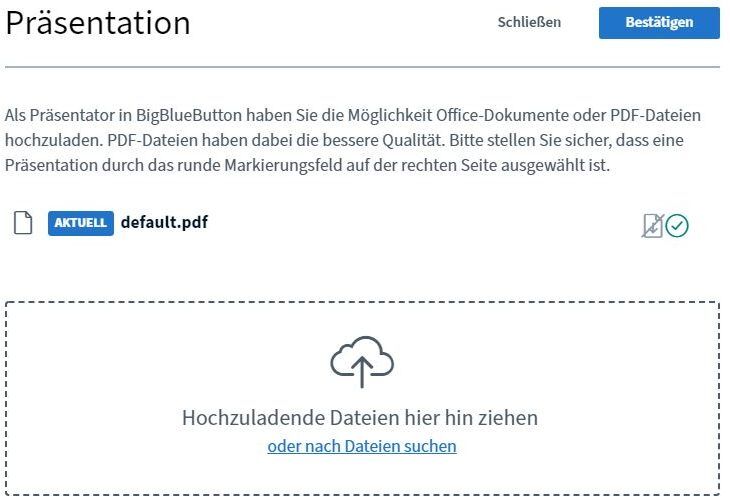
- After one or more presentations have been uploaded, it must be determined which of them should be shown before the start
At the beginning:
- Check whether it makes sense to mute all participants again using > restrict participant rights
- Every participant who has the rights to share audio / video signals must activate this function for data protection reasons by clicking on the corresponding buttons!
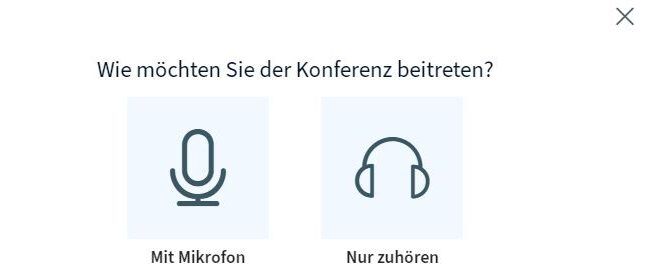
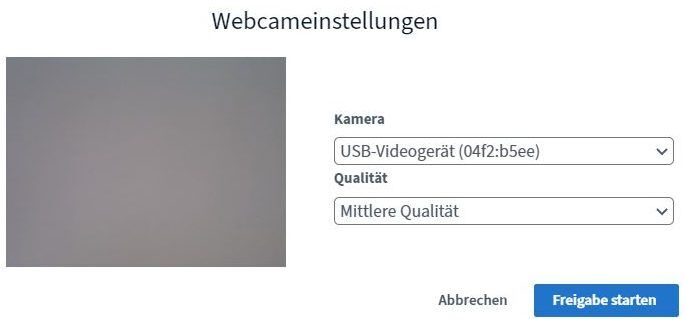
- The first presenter should now activate their video and audio

- Here we go – good luck!
Notes for the participants – you should discuss these points with your participants in advance or at the beginning of the meeting:
- Menu navigation – how does the participant move on the platform, e. g. from the plenary to the workshop rooms and back?
- (When) questions are allowed or answered
- Participants should > “raise their hands” when they want to ask a question; clicking again deactivates this status

- For the moderator, all participants and their respective status appear at the top of the list

- The question can be asked with either audio only or with audio and video
- Participants can write questions in the chat at any time, regardless of whether they are muted or not

- Participants can control the view themselves on their end devices. Including the video and presentation size, and anyone can move the displayed windows
(!) With > delete presentation, the display of this can be ended for all participants.
This may be useful if the meeting is to be continued (only) with the video transmission (without audio). However, deletion is only possible if there is at least one other presentation in the meeting room – so if in doubt, ensure that you have at least one additional uploaded presentation!
(!!) From then on, the meeting room may no longer be closed until the end of the meeting, as all presentations and participant rights are deleted when the meeting is closed!

